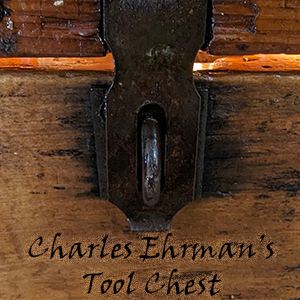
Charles Ehrman's Tool Chest
Home >> Features >> Charles Ehrman's Tool ChestCharles Ehrman
 was my great great grandfather, and passed away decades before I was born. His chest of tools, however, has been passed down several generations to arrive in my possession. Upon my receipt of this chest, there were quite a few water stains and a very noticeable odor that I subsequently learned had accompanied the chest for decades prior. The exact cause of the odor remains uncertain, but is either from the chest itself, or possibly from the tools. Fortunately, restoration of the chest has alleviated the odor although it still lingers on the tools. Read on for more about the steps taken for the restoration, and a full inventory of the chest's contents.

So how do I know this chest belonged to Charles Ehrman? Really, all I have to work with is a 1940 Rural Guide pamphlet and county map that has his name and address handwritten on it. My guess is he used the chest quite a bit, and then subsequent generations just tucked it unused into a back corner or basement. It is also possible that the chest and some of its tools are even older, perhaps coming from Charles' father, Christian Ehrman
 , who immigrated to the United States at the age of nine in 1848. However, I cannot confirm this, so I can only claim it belonged to Charles Ehrman.

Restoration
Before doing any work on the chest, dirt and water stains were just about all that was visible. Some of the 'dirt' might have been paint, but was too chipped and scratched to really tell for certain. It was pretty gross, but at the time I had no idea how to deal with it. I tried storing some packets of silica gel in the chest for awhile, hoping that might help if it was rotting or deteriorating from humidity, but that didn't help.
I enventually took the chest to work where I had space to work on it. At this point, the lid was removed so the chest was easier to work on. Everything then went outside for a good soap scrub and rinsing. I did not have a power washer, but the water pressure was still strong enough that much of any existing finish was removed.
One thing that was noticed during cleaning was that the lid had slightly warped at some point far in the past. My dad managed to fix this by wetting the lid, and then drying the top and bottom of it at different speeds. It may not be perfect, but it is now much better than it was. I believe he also filled in or reinforced a few small cracks that threatened the structural integrity of the chest.
The final step was to coat the entire thing with shellac. This created a solid coat of finish that both protects and seals the wood. I ended up using the entire can of shellac for a total of two coats. The instructions on the can said to sand between coats of shellac. However, I merely used a green scrub pad instead, with decent results. The chest could probably benefit from a third coat of shellac, but it is not necessary. The result turned out better than I expected.
Special thanks to Dennis Hinks for providing his expertise and all the supplies I used. He also applied a coat of shellac to the chest.
Once back at my apartment, the chest was ready for the tools to be returned to it. Perhaps someday I will restore the tools too, but I have no plans to do so at this time.

Tools


